Introduction: Hi Guys, Today I would like to take this opportunity to let you know about how you can Create New SharePoint 2013 Web Application using SharePoint Management Shell (PowerShell). To achieve this you have to follow below steps:
Step 1: Go to SharePoint Server.
Step 2: Open Notepad and write below command to create new Web App:
Add-PSSnapin Microsoft.SharePoint.PowerShell
# Web Application Name
$Name = “SharePoint WebApp PowerShell”
# Server Name
$HostHeader = “ServerName”
# Port Number
$Port = “8087”
# Load-balanced URL
$url = “http://Servername/”
# Content database Name
$ContentDBName = “WSS_Content_SharePointWebAppPowerShell”
# ApplicationPool Name in IIS
$AppPoolName = “SharePoint WebApp PowerShell – 8087”
# Applicatio Account
$AppPoolAccount = “Domain\AppPoolAccount”
# Path of App Pool
$RootPath = “C:\inetpub\wwwroot\wss\VirtualDirectories\”
$ap = New-SPAuthenticationProvider -UseWindowsIntegratedAuthentication -DisableKerberos
# Command for Creating new Sharepoint WebApplication
New-SPWebApplication -Name $Name -Port $Port -HostHeader $HostHeader -URL $url -ApplicationPool $AppPoolName -ApplicationPoolAccount (Get-SPManagedAccount $AppPoolAccount) -DatabaseName $ContentDBName -AuthenticationProvider $ap
Now save the file with extension “.ps1”. In my case I have saved the file with the name CreateWebApp.ps1 at location “E:\Ankit\Powershell“. Your file should be look like below:

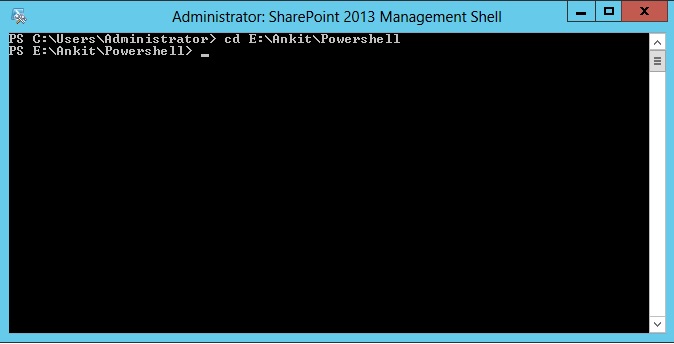
Step 3: Run SharePoint Management Shell as Administrator and navigate to the path where your CreateWebApp.ps1 file is located (i.e. E:\Ankit\Powershell, in my case).
Step 4: Write the below command and click enter.
.\CreateWebApp.ps1
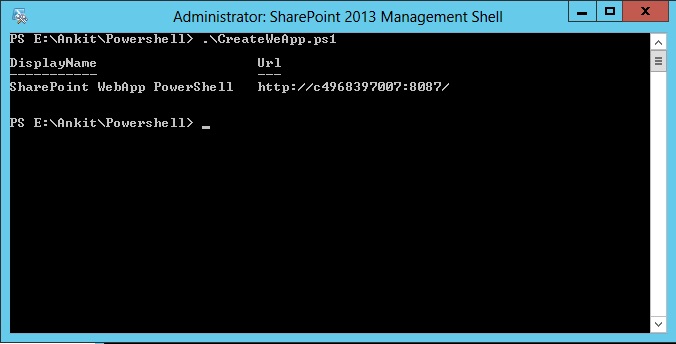
Note: This will take some time to complete and create new Web Application.
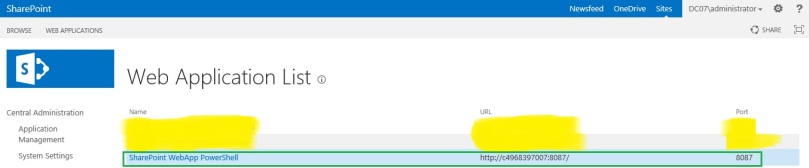
Step 5: To check whether your Web application has been created or not, Go to SharePoint Central Administrator –> Click on Manage Web Application. You will find the newly created web application here.
Related Post:
Create SharePoint Web Application using Server Object Model
Thanks for giving the specious time to read this blog. Click on like button if this blog helped you in any way or give your valuable comments for the betterment.. 🙂
