Introduction: In SharePoint 2013 you may have seen the text “SharePoint” at the top left corner of blue Ribbon. You can change this by setting the web application’s SuiteBarBrandingElementHtml property using Windows PowerShell.

This change will affect all the sites within the Web Application you choose and yes, you will see the changes on the site administration page as well.
There are three ways you might consider when replacing the SharePoint text on the blue Ribbon bar.
- Change SharePoint text only
- Change SharePoint text and link it
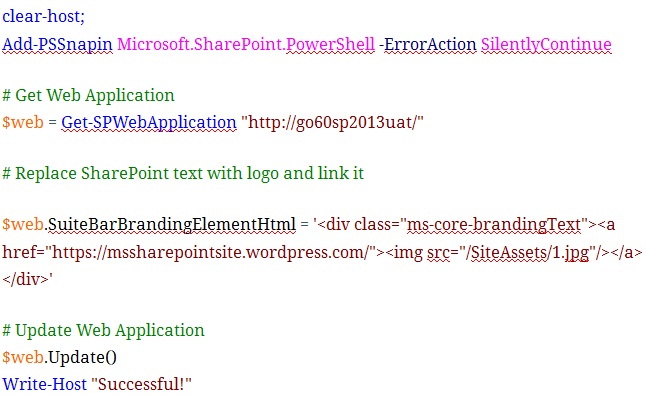
- Replace SharePoint text with logo and link it
So to achieve this you have to follow some steps:
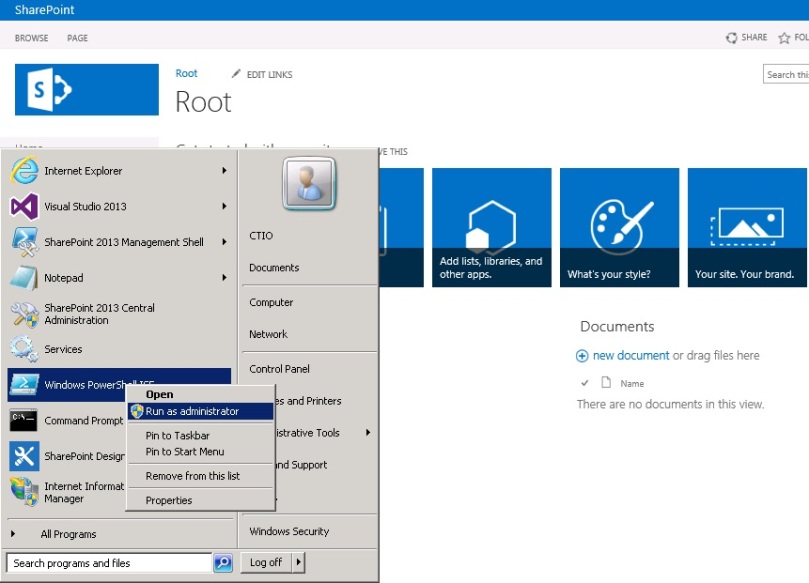
Step 1: Go to SharePoint Server –> Find and Run Windows PowerShell as Administrator.
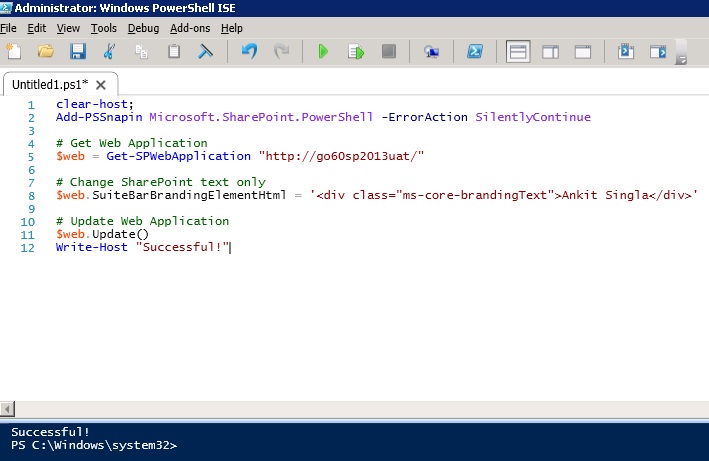
Step 2: Write the below script and execute. you can change it as per your wish.
i) Change SharePoint text only


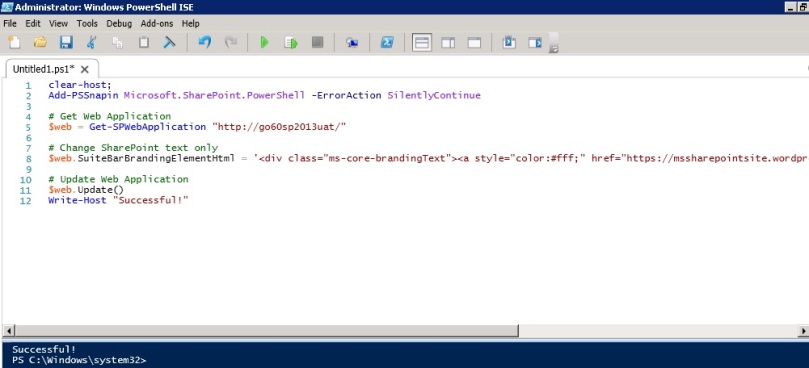
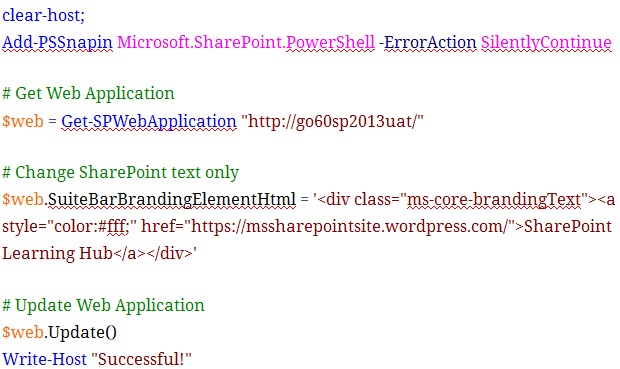
ii) Change SharePoint text and link it

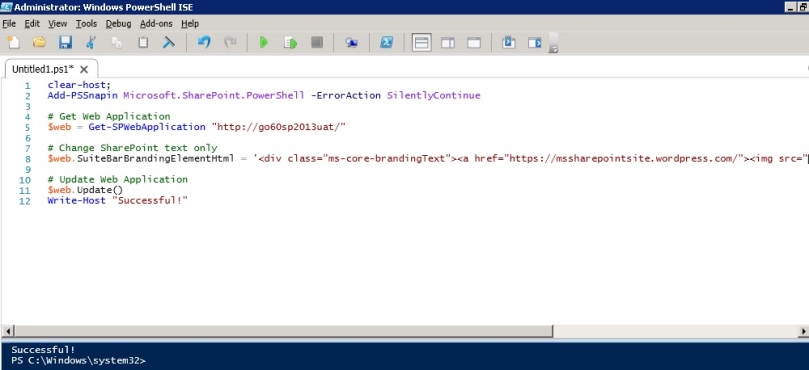
iii) Replace SharePoint text with logo and link it

Reference: Change SharePoint 2013 Title
Thanks for giving the specious time to read this blog. Click on like button if this blog helped you in any way or give your valuable comments for the betterment..